
FREE TOOL · Photo Checklist
Storm Damage Photo Checklist
Tick off the photos to take after a storm, from the ground, inside and in the attic, with what each one shows. Print it or send it.
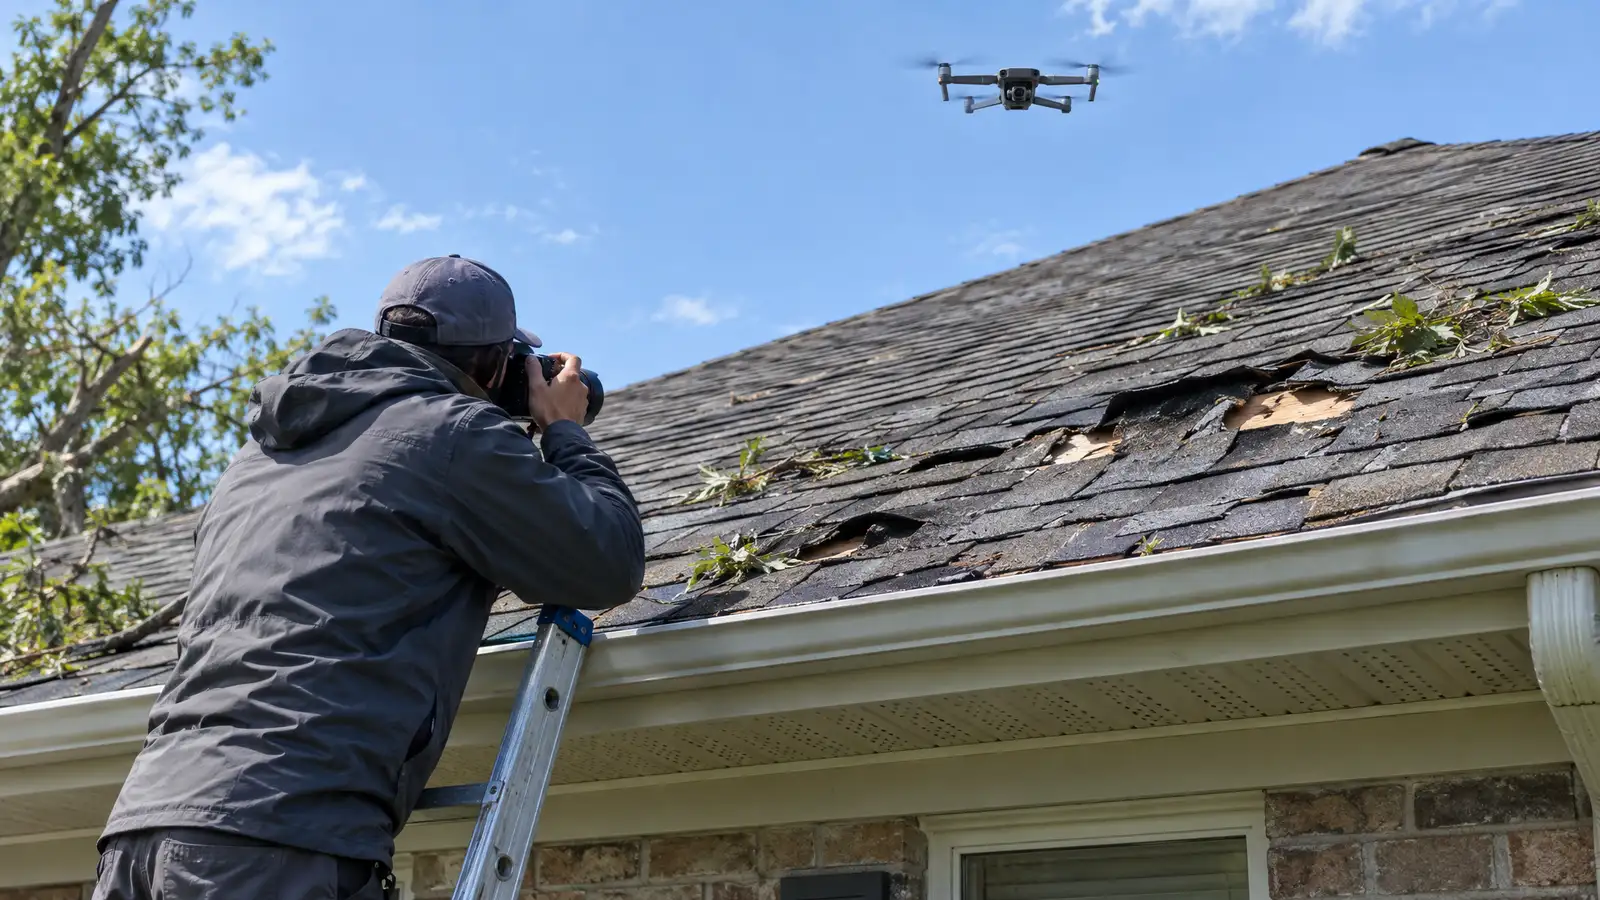
Four quick steps.
- 01
Work through the list
Tick each photo as you take it.
- 02
Stay safe
Take roof photos from the ground or a drone, not from the roof.
- 03
Label and date
Keep photos in dated folders without editing them.
- 04
Print or send
Use the printed list on site or send it with your request.
About this tool.
Do I need a professional to take photos?
No. Your own photos help. A professional adds close-ups you cannot safely take.
Will these photos get my claim paid?
They help document the damage. Coverage decisions belong to your insurer.
Related services.
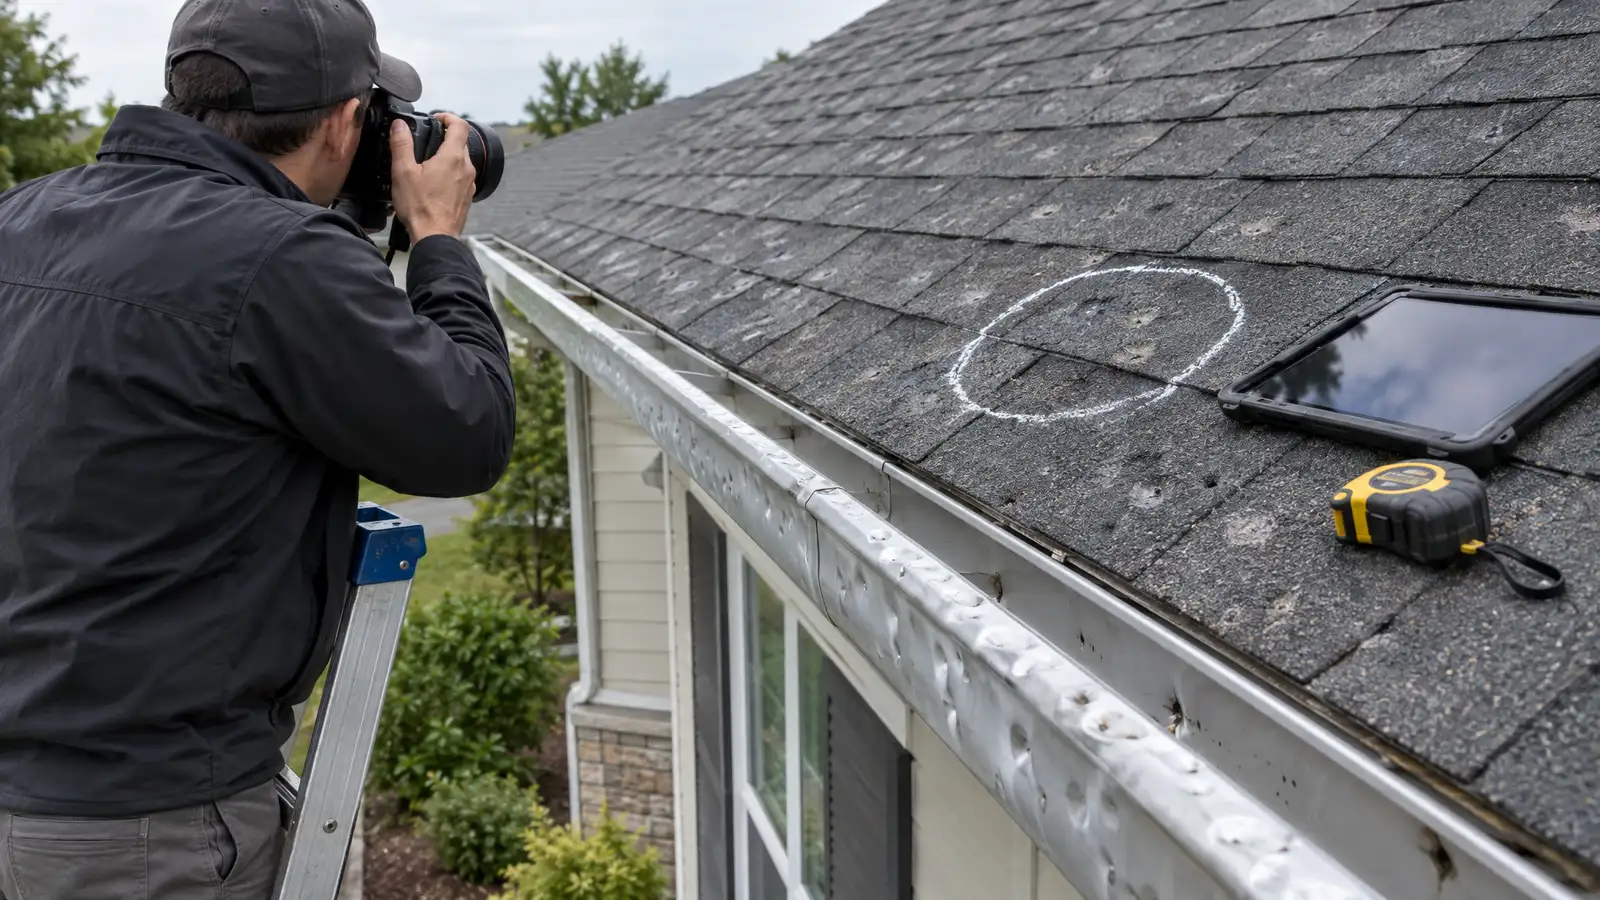 E-01Claims and RecoveryClaim Roof DocumentationA clear record of storm damage, with dated photos, marked impacts and plain descriptions, makes every later conversation easier.Stage 1: Stop the waterB-12Storm DamagePost-Storm Roof InspectionMany storm damages are invisible from the ground.Stage 1: Stop the water
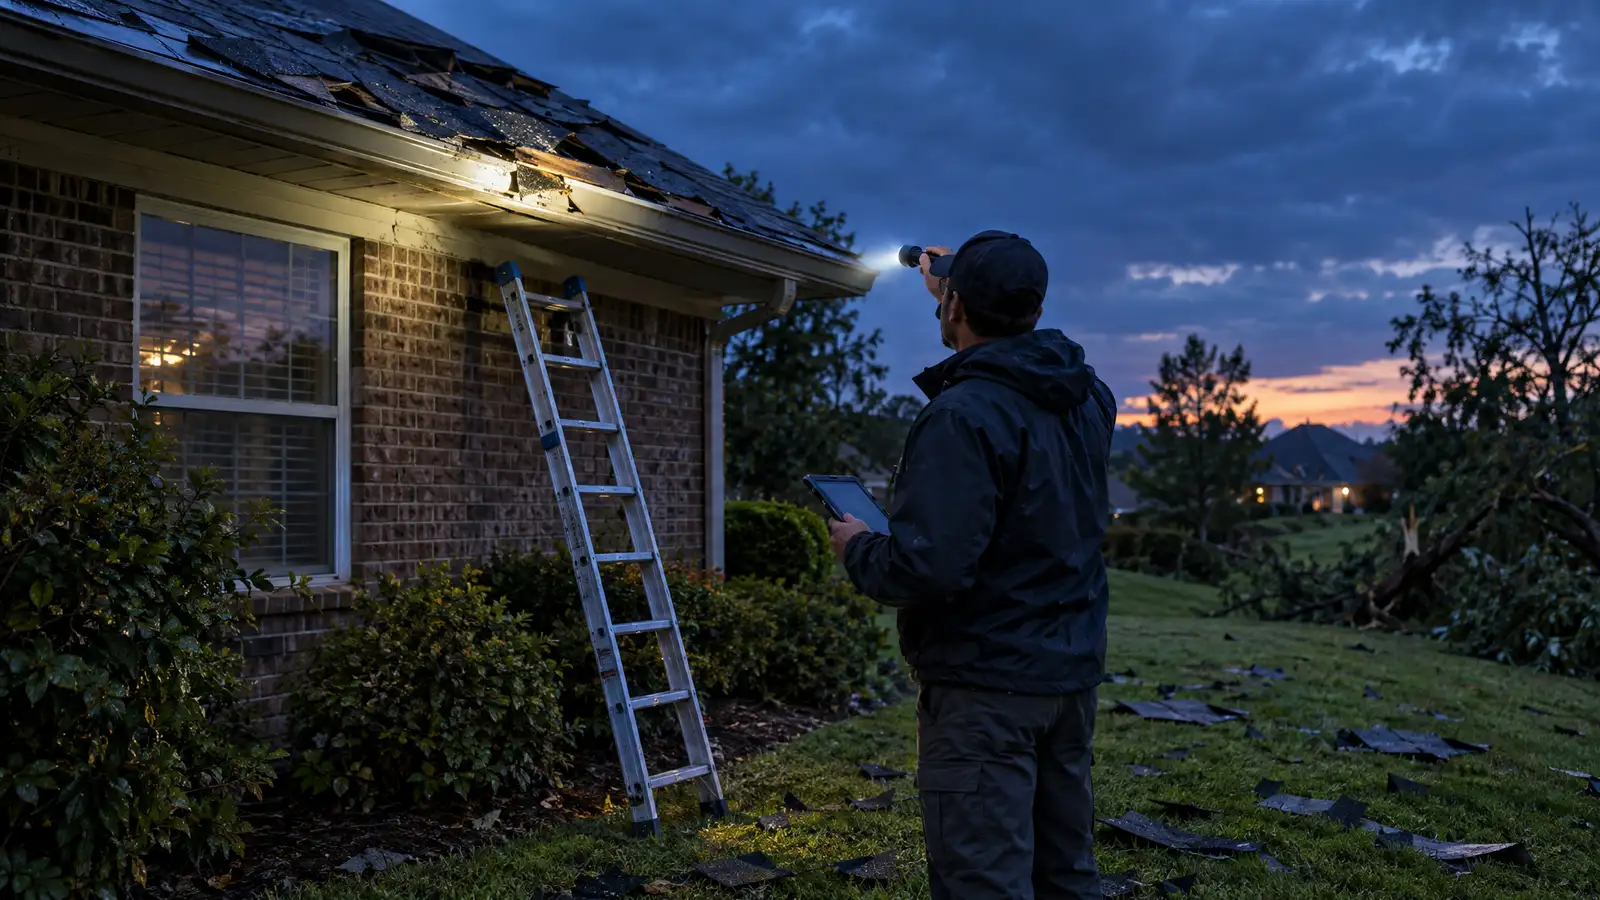 A-05Emergency ResponseEmergency Roof InspectionA fast, careful look at what a storm did to your roof, so you know which damage is urgent and which can wait.Stage 1: Stop the water
Storm hit your roof? Call before the next rain.
Tell us what happened and where you see water. We will explain the safest next step and how we can cover and repair the roof.